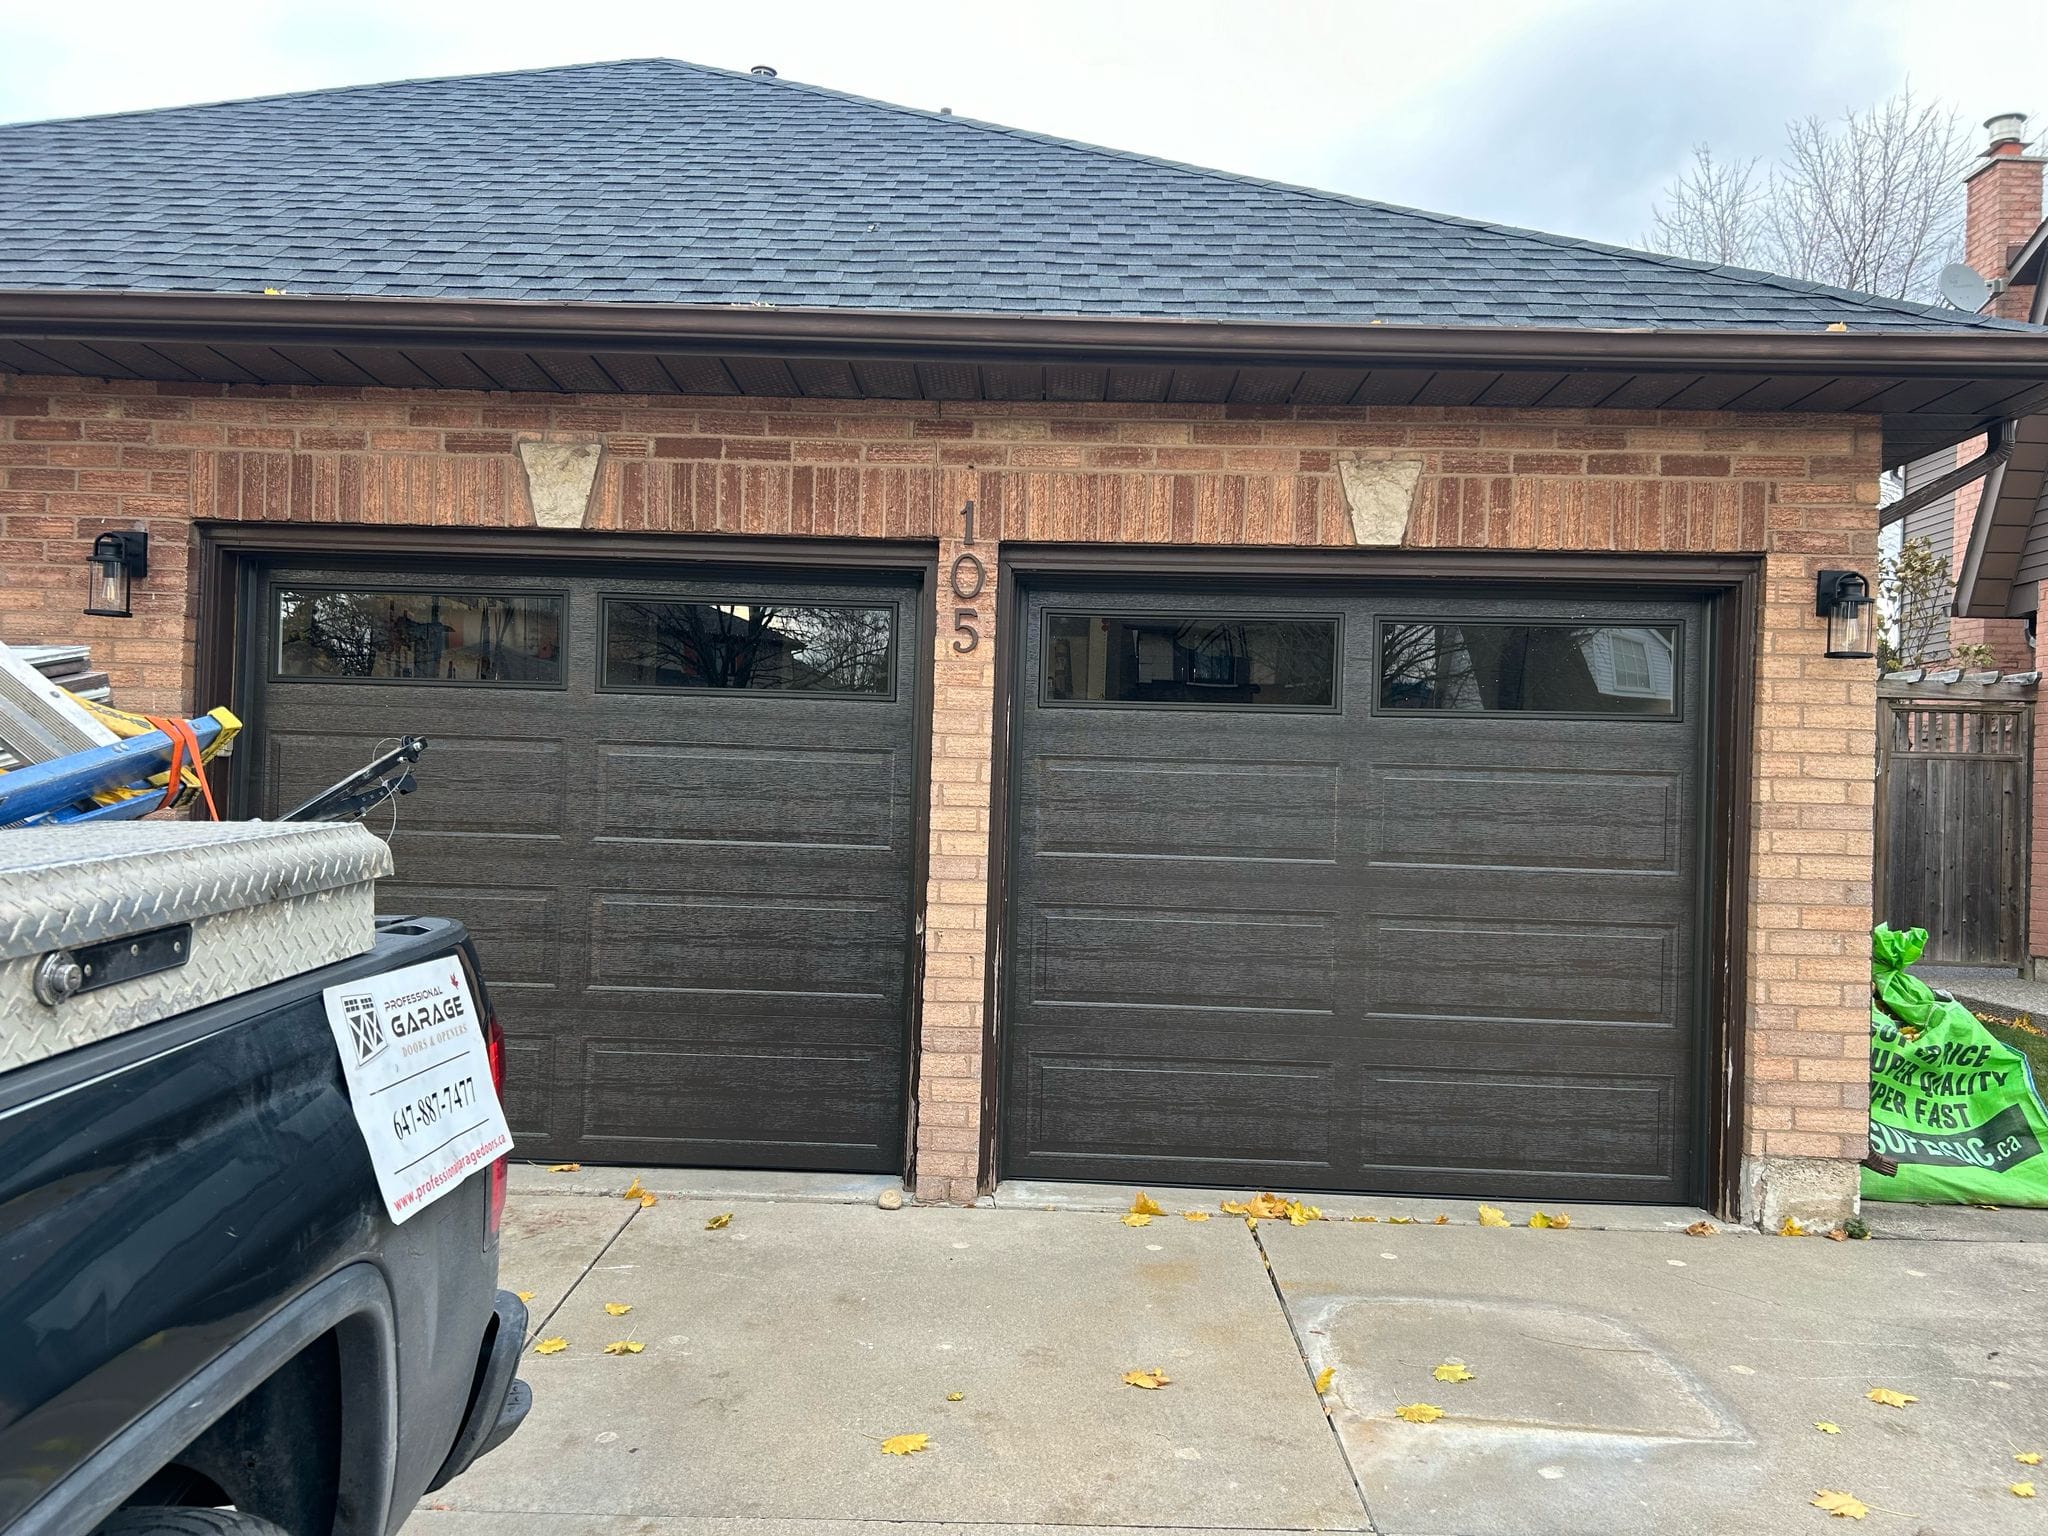

Garage Door Installation: A Step-by-Step Guide for DIYers
Installing a garage door can greatly improve the functionality, security, and visual appeal of your home. Although the project requires careful planning and execution, it can be a rewarding experience for DIY enthusiasts. In today’s world, where homeowners value personalized solutions and the satisfaction of completing tasks on their own, learning how to install a residential garage door is a highly valuable skill. With the right tools and information, even what seems like a challenging task can become an achievable and fulfilling project.
This guide is designed to assist those ready to tackle garage door installation. It will walk you through every step of the process—from the initial preparation to the finishing touches that ensure a seamless, efficient, and attractive result. Additionally, we’ll share maintenance tips to help you prolong the lifespan and enhance the performance of your new garage door. Whether you’re looking for advice on Home Depot or Lowe’s garage door installation, this comprehensive resource will give DIYers the knowledge and confidence needed to complete the job successfully.
Preparing for Garage Door Installation
Understanding the Required Tools and Materials
Before commencing the garage door installation, it is crucial to gather all necessary tools and materials to ensure a smooth and safe process. The installation of a garage door requires precision and the right equipment due to the heavy nature of the materials and the complexity of the mechanisms involved.
Cordless Drill: A cordless drill is advantageous for its convenience in tight spaces, making it easier to install screws and bolts without the encumbrance of a cord.
Safety Equipment: Technicians should wear sturdy leather gloves for grip and protection and keep eye protection readily available to safeguard against potential hazards.
Ladders: At least two robust ladders are essential due to the height at which most garage doors are installed.
Hand Tools: A comprehensive set of screwdrivers, an adjustable wrench, and a socket or ratchet set are necessary. These tools will be used for various tasks such as setting screws, adjusting components, and assembling parts.
Winding Bars and Locking Pliers: These specific tools are required for handling the torsion springs safely. Winding bars help in adjusting the tension of the springs, while locking pliers can secure the door in place during adjustments.
Measuring and Preparing the Garage Opening
Proper measurement and preparation of the garage opening are fundamental steps that dictate the ease of installation and the functionality of the garage door.
- Clear the Area: Ensure that the garage space is free of vehicles, tools, and any obstructions. A minimum clearance of one foot on each side of the door track and fourteen feet back into the garage is recommended.
- Measure the Door Opening: Accurately measure the width and height of the garage door opening. Check the side room, headroom, and depth to ensure that the new garage door will fit correctly. It’s essential to measure in multiple places to account for any irregularities in floor or ceiling levels.
- Check for Obstructions: Inspect the area for any potential obstructions like beams or protrusions that might interfere with the installation of the garage door tracks or the opener.
- Prepare the Frame: Remove any old doors and hardware. Make sure that the frame is level and square to avoid any issues during the installation.
By meticulously following these preparatory steps, DIYers can set a solid foundation for a successful garage door installation, ensuring safety, efficiency, and optimal performance of the newly installed door.
Step-By-Step Guide to Installing the Garage Door
Assembling and Installing the Panels
- Start with the Bottom Section: Place the bottom section of the garage door in the opening, ensuring it is centered and flush against the stop molding. Use a level to check that the section is perfectly horizontal. Secure it temporarily by hammering nails at an angle into the frame at each end, known as toenailing.
- Attach the Hinges and Handles: Identify and attach the hinges to the pre-punched holes along the top edge of the door section. If your door includes handles or additional hardware, attach them according to the manufacturer’s instructions.
- Install Remaining Panels: Stack the next panel on top of the bottom one, align it carefully, and attach it using the hinges from the lower panel. Repeat this process for each panel until all are in place. Ensure each section is secure and aligned properly before proceeding to the next.
Setting Up the Tracks and Rollers
- Install Vertical Tracks: Attach the vertical tracks to the frame of the garage door on each side. Ensure they are plumb and securely fastened to the wall using suitable mounting hardware.
- Place Rollers in Hinges: Insert the rollers into the hinges on each side of the garage door panels. Ensure they move freely and are correctly aligned within the tracks.
- Secure the Tracks and Rollers: Connect the horizontal tracks to the vertical tracks on each side of the door. Use bolts to secure the tracks together, ensuring there is no wobble and that the tracks are level and aligned correctly.
- Attach Top Brackets and Rollers: Install the top brackets at the upper corners of the door, then attach the rollers. These top rollers are crucial for the smooth operation of the door as they bear most of the load during the door’s movement.
Installing the Spring and Cables
- Attach the Torsion Springs: If your door uses torsion springs, install the spring anchor bracket and insert the torsion rod into the brackets. Attach the springs to the center bracket.
- Set the Torsion Spring Tension: Carefully follow the manufacturer’s instructions to wind the springs. This step is critical as improper tension can lead to door malfunction or injury. Use winding bars to turn the springs, usually around ¼ turn per foot of door height.
- Install the Pulley and Cables: Attach the pulley to the end of the torsion rod on each side. Thread the lift cables from the bottom panel bracket up to and around the pulleys, then down to the cable drums.
- Secure the Cable and Adjust Tension: Wind the cables on the drums and tighten to remove any slack. Ensure the cables are evenly tensioned and securely held in place to prevent the door from becoming unbalanced.
By carefully following these steps, DIYers can successfully install their garage door, ensuring it operates smoothly and safely. Each stage involves specific tasks that require attention to detail and adherence to safety guidelines, especially when handling heavy materials and torsion springs.
Adding Finishing Touches and Testing
Installing Door Handles and Locks
Once the main structure of the garage door is in place, the next step involves installing the door handles and locks, which are crucial for security and functionality. Begin by selecting the appropriate location for the lock, typically in the center of the door just above the bottom section. This placement ensures ease of access and optimal security.
- Prepare the Lock Assembly: Depending on the type of lock, the assembly might involve a keyed T-handle on the outside connected to spring latches inside via a cable or sash chains. Lay out all parts and tools required for the installation.
- Drill Holes for Handles and Locks: Use a drill to create holes for the lock assembly. Start with smaller pilot holes to ensure accuracy. For doors with a steel exterior, use spacers provided to prevent compression of the material when tightening screws.
- Install the Handles and Lock Mechanism: Attach the external handle and internal release mechanism. Ensure that the alignment is correct to facilitate smooth operation. Secure all components with screws, making adjustments as necessary to ensure the lock operates smoothly.
- Connect and Tighten the Locking Mechanism: Link the inside handle and spring latches with the cable or chains. Pull to tighten them adequately. Loose connections can prevent the lock from functioning correctly.
- Test the Lock: Before proceeding, test the lock to ensure it engages and releases as expected. Adjustments may be needed if the lock is too tight or too loose.
Adjusting Tension and Testing Door Operation
After the locks and handles are installed, the final step involves adjusting the tension of the springs to ensure smooth and safe door operation. Proper tension is crucial as it affects the ease of opening and the safety of the door.
- Check Spring Balance: Release the garage door from the opener and manually lift the door halfway. The door should stay in place if balanced. If it falls or shoots up, further adjustments are needed.
- Adjust the Torsion Springs: If adjustments are needed, secure the door in place using locking pliers. Insert winding bars into the winding cone of the torsion springs. Carefully adjust the tension by turning the bars. It is crucial to maintain safety during this process to avoid injuries.
- Test the Door Operation: Open and close the door manually to ensure it moves smoothly without resistance. Check for any misalignment or sticking points, which could indicate that the tracks or rollers need adjustment.
- Reconnect the Opener: Once the manual tests are satisfactory, reconnect the door to the automatic opener. Test the opener with the remote to ensure it operates the door smoothly and correctly.
- Lubricate Moving Parts: Finally, apply a silicone- or lithium-based lubricant to the springs, hinges, and rollers. Regular lubrication helps maintain the smooth operation of the door and prolongs the life of the moving parts.
By following these detailed steps, DIYers can ensure their garage door is secure, well-balanced, and operates smoothly, providing peace of mind and enhancing the functionality of their home.
Maintenance Tips for Your New Garage Door
Regular Inspection and Lubrication
To ensure the longevity and optimal performance of your garage door, regular inspection and lubrication are essential. Start by opening and closing your garage door both automatically and manually to observe its operation. Listen for any unusual noises such as banging or loud sounds, and watch for jerky movements or catching, which could indicate issues. It’s crucial to perform this inspection about twice a year.
Steps for Proper Lubrication and Inspection:
Inspect and Replace Worn Parts: Regularly check for worn or damaged parts like cables and springs. Look for signs of fraying on cables and rust or wear on springs. Replace these parts as necessary to maintain safety and door functionality.
Clean and Inspect Tracks and Rollers: Use a brush to remove debris from the tracks and a damp rag to clean off dirt and grime. Inspect the rollers for signs of wear such as cracks or chips, and replace them if necessary.
Tighten Loose Hardware: Due to regular use, the nuts, bolts, and roller brackets can loosen over time. Tighten these components with a socket wrench or screwdriver, ensuring not to overtighten, as this could cause additional wear.
Lubricate Moving Parts: Apply a garage-door-specific lubricant to the springs, hinges, rollers, and tracks. Avoid using lubricants on nylon rollers and never apply grease to the tracks as it can attract dirt and increase wear on the rollers.
Check and Lubricate the Opener’s Chain: A loose chain can cause slapping sounds and erratic door movement. Tighten the chain appropriately and lubricate it to ensure smooth operation.
Identifying Common Issues and Solutions
Maintaining your garage door involves not only regular upkeep but also identifying and resolving common issues that can arise.
Common Problems and Their Fixes:
- Noisy Operation: If your door makes grinding, squeaking, or other unusual noises, check for loose hardware and worn rollers or hinges. Tighten and lubricate as needed.
- Door Opens or Closes with Difficulty: This issue often stems from improper spring tension or misaligned tracks. Adjust the track brackets to ensure there’s slight play between the door and the tracks, and adjust the tension of the torsion springs if necessary.
- Remote Control Malfunctions: Ensure there are no obstructions blocking the sensors and check the antenna for any dirt or misalignment. Replace the batteries in the remote control, or reset and reprogram the opener if the issue persists.
- Worn Weather Seal: Inspect the seal at the bottom of the door. If it appears brittle or worn, replace it to prevent elements and pests from entering the garage.
- Safety Concerns with Cables and Springs: Due to the high tension involved, it’s advisable to consult a professional for replacing cables or adjusting springs to avoid potential injuries.
By adhering to these maintenance tips and addressing common issues promptly, homeowners can ensure their garage door remains functional, safe, and efficient, significantly reducing the likelihood of inconvenient or costly repairs. Regular care keeps the door operating smoothly, enhancing both the security and aesthetic appeal of your home.
Conclusion
This guide equips DIYers to successfully install a garage door, enhancing both the functionality and appearance of their homes. By following each step—from gathering tools to completing the installation—homeowners can confidently tackle the project with precision. Maintenance tips are also provided to ensure the door’s longevity and performance.
In conclusion, regular inspections and proper maintenance are key to preserving your garage door’s quality and safety. Whether installing a new door or upgrading an existing one, this guide highlights the satisfaction and security of a well-executed DIY project, boosting your home’s value and functionality.

